
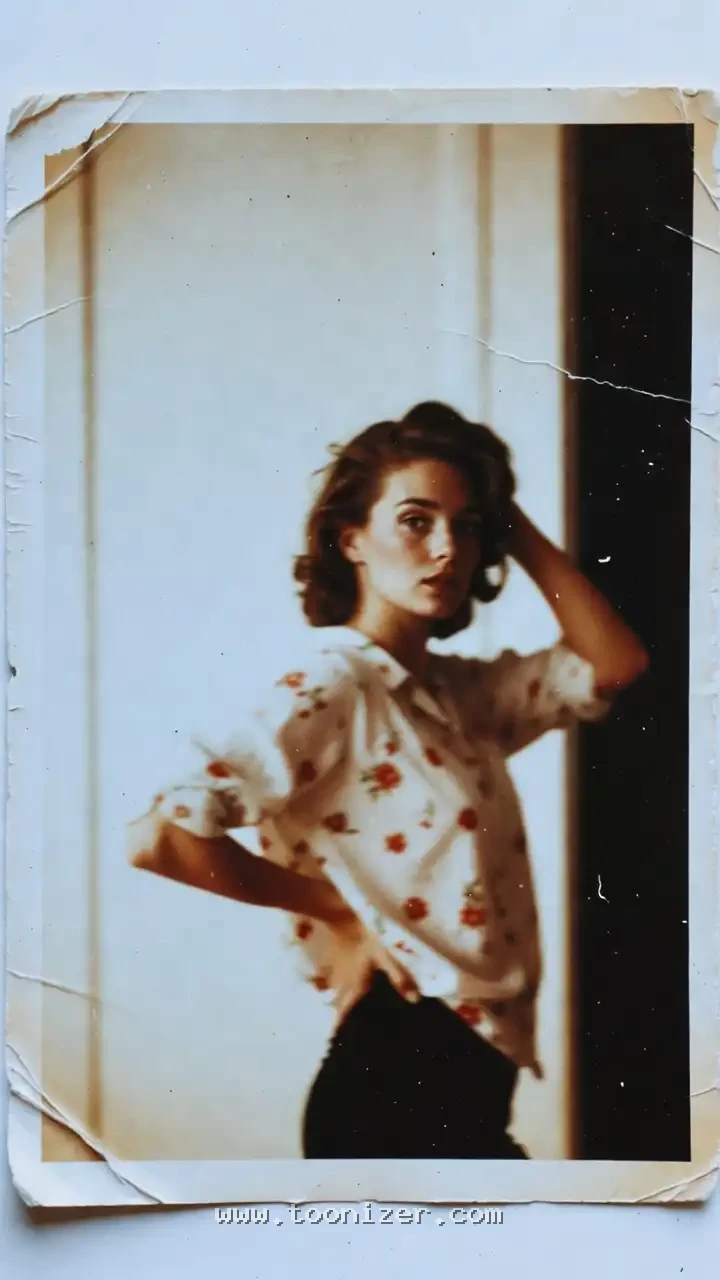
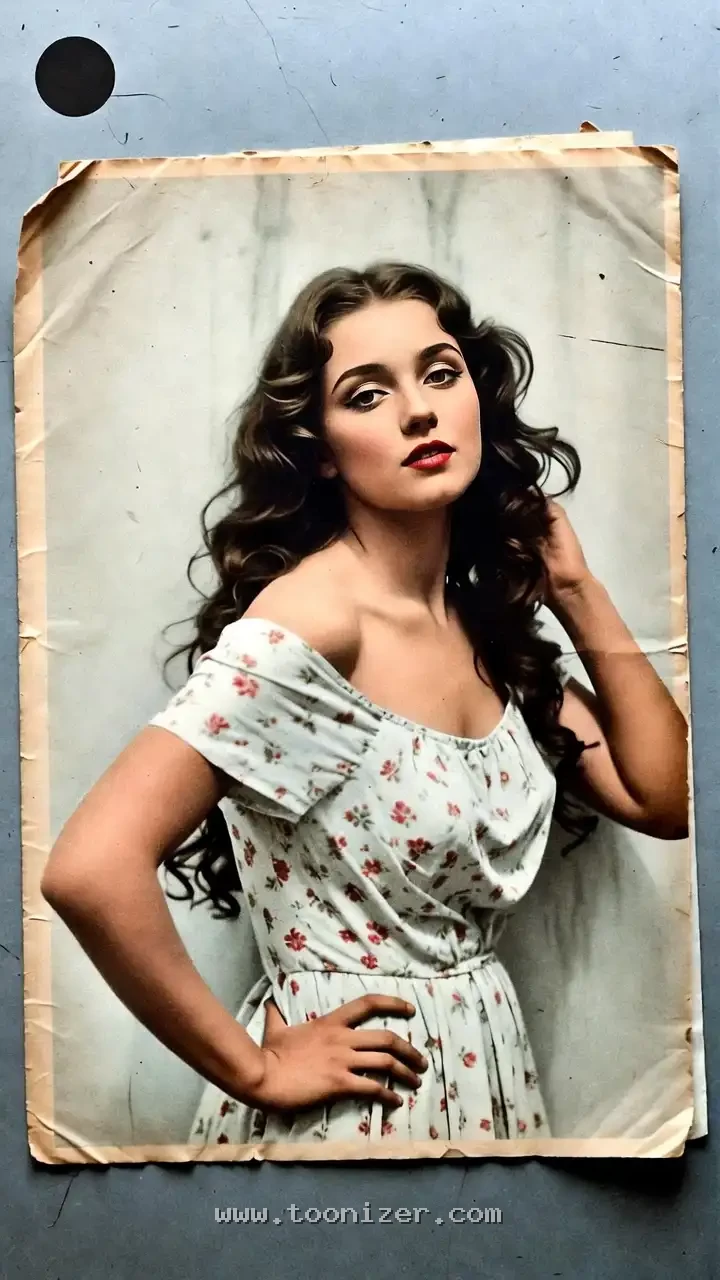
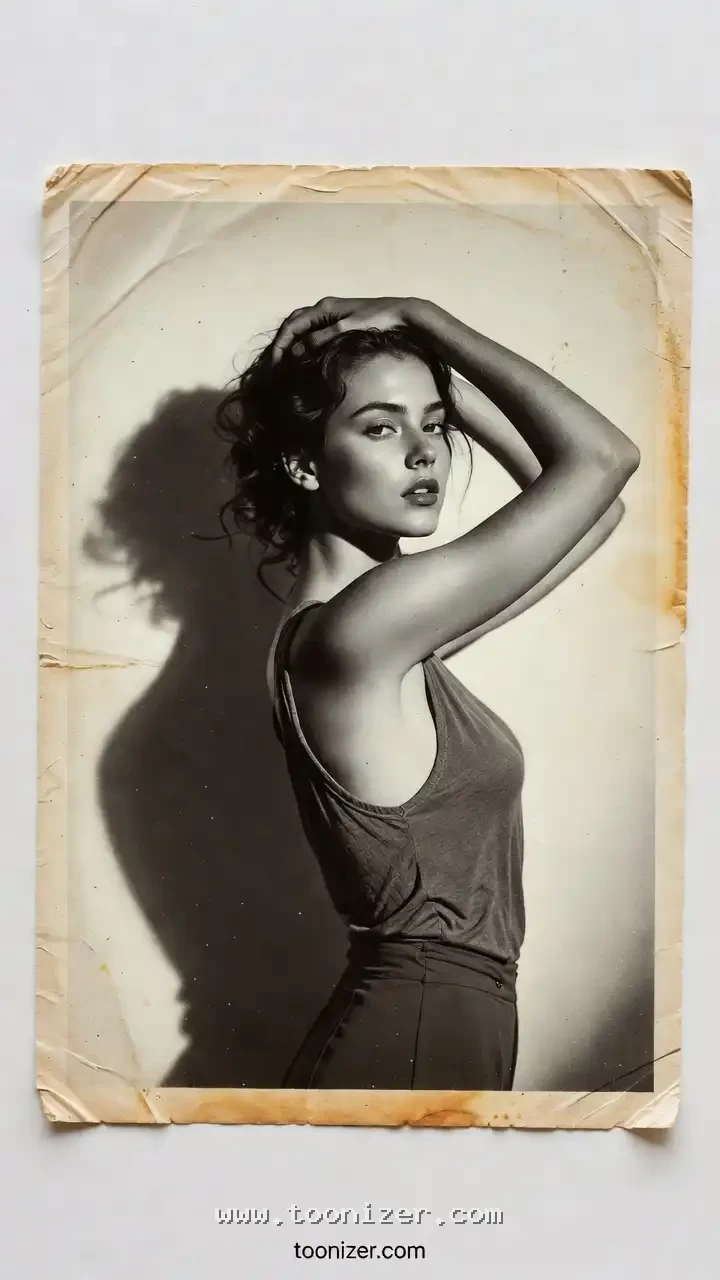
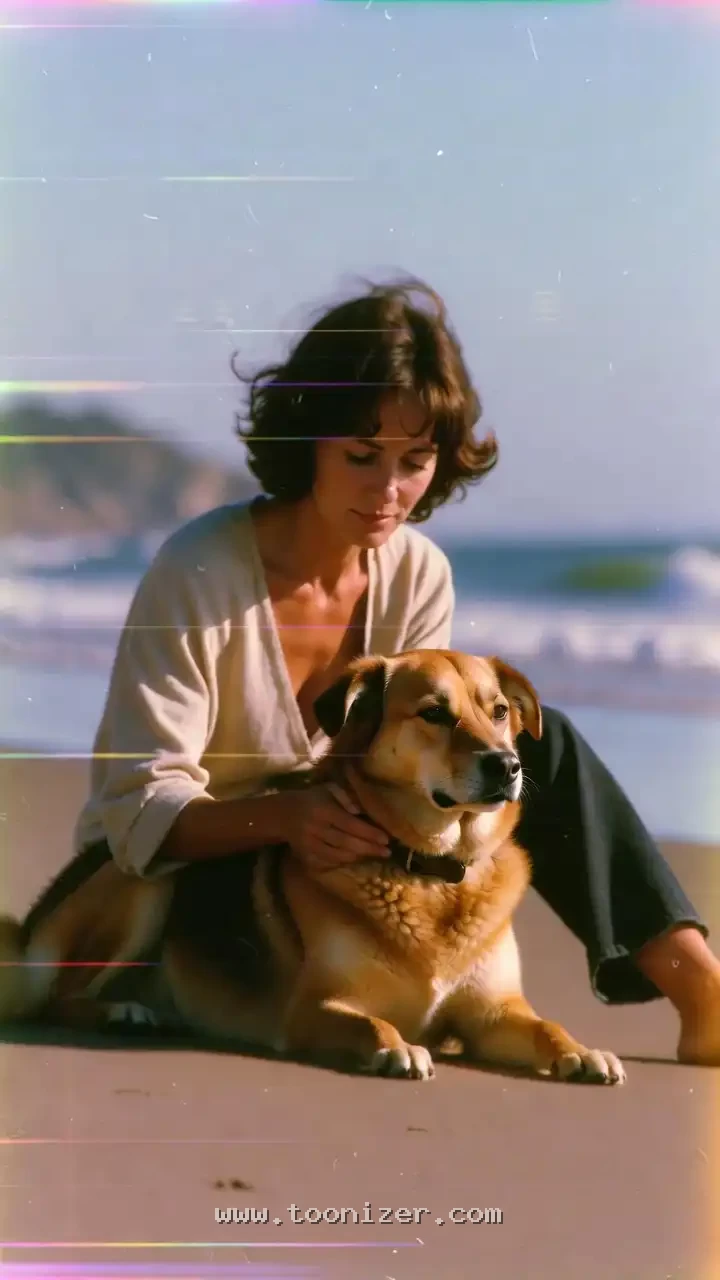
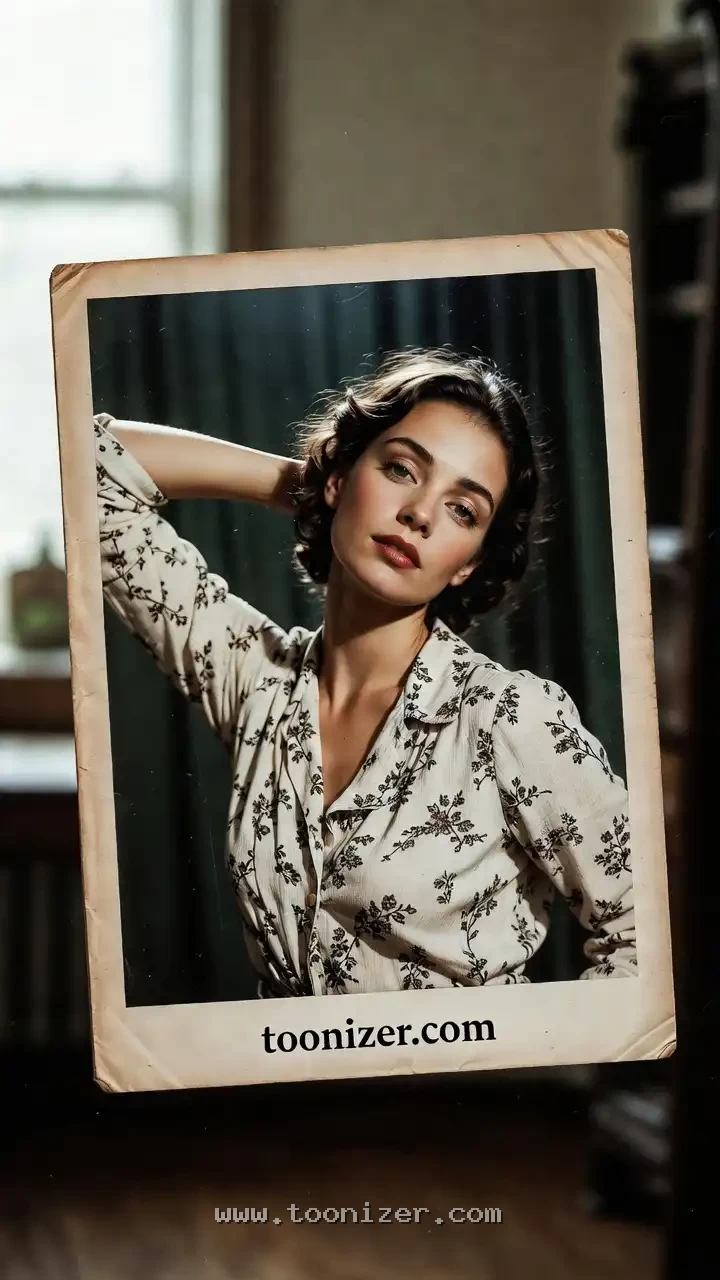
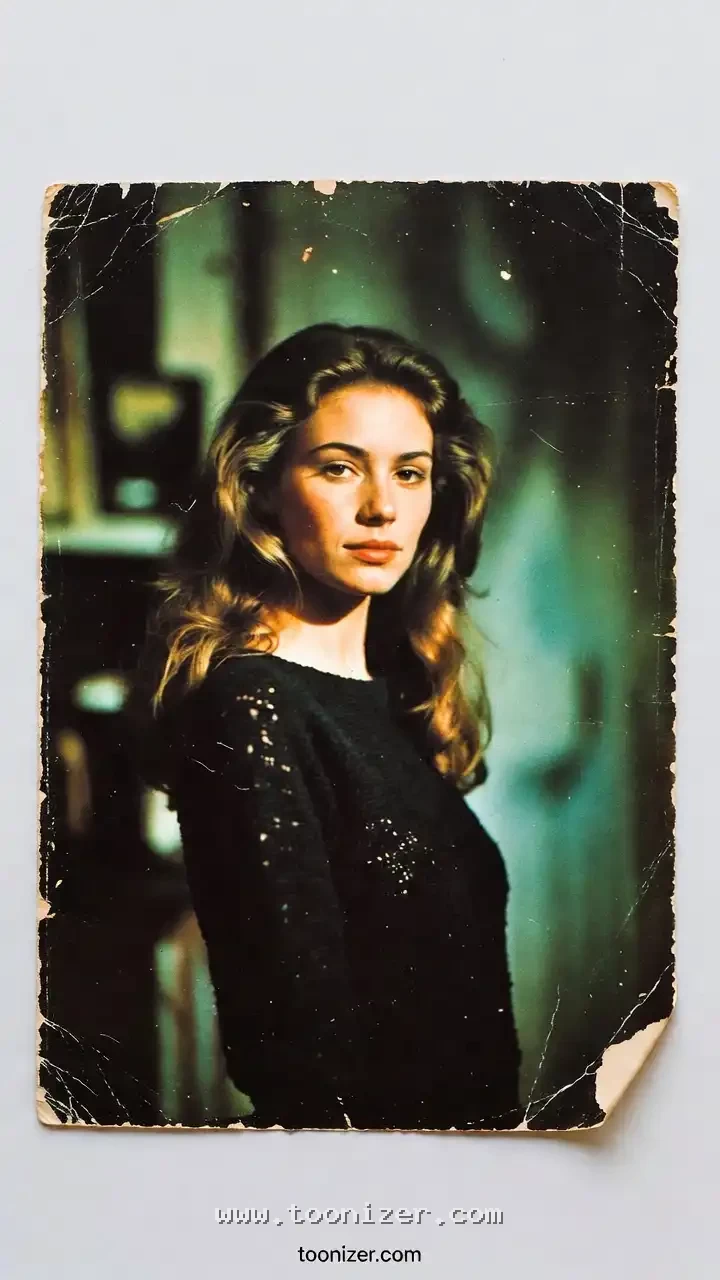
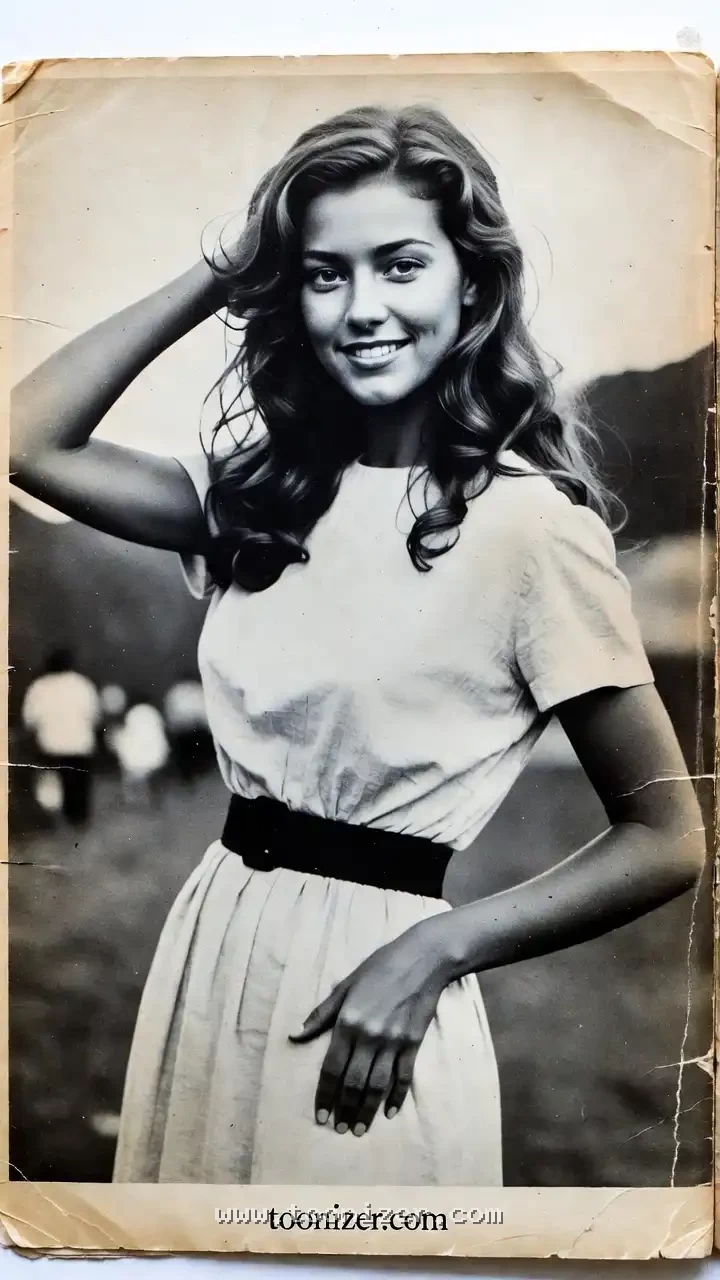
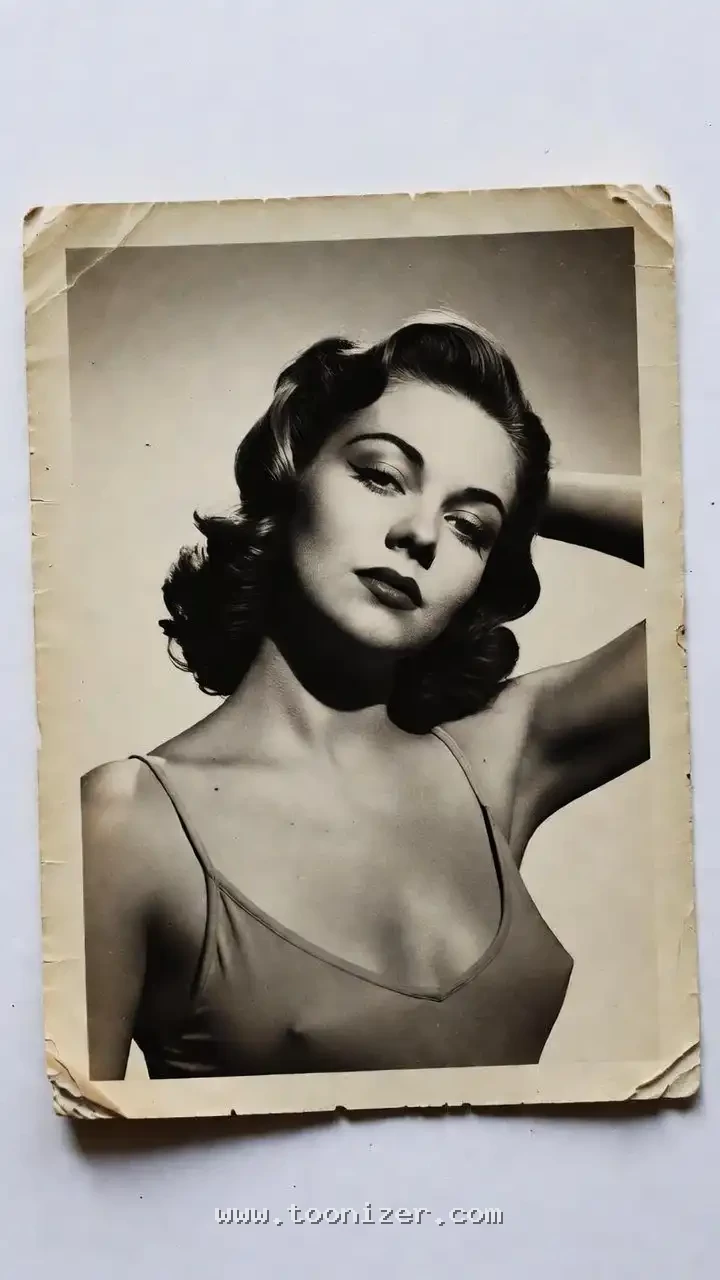
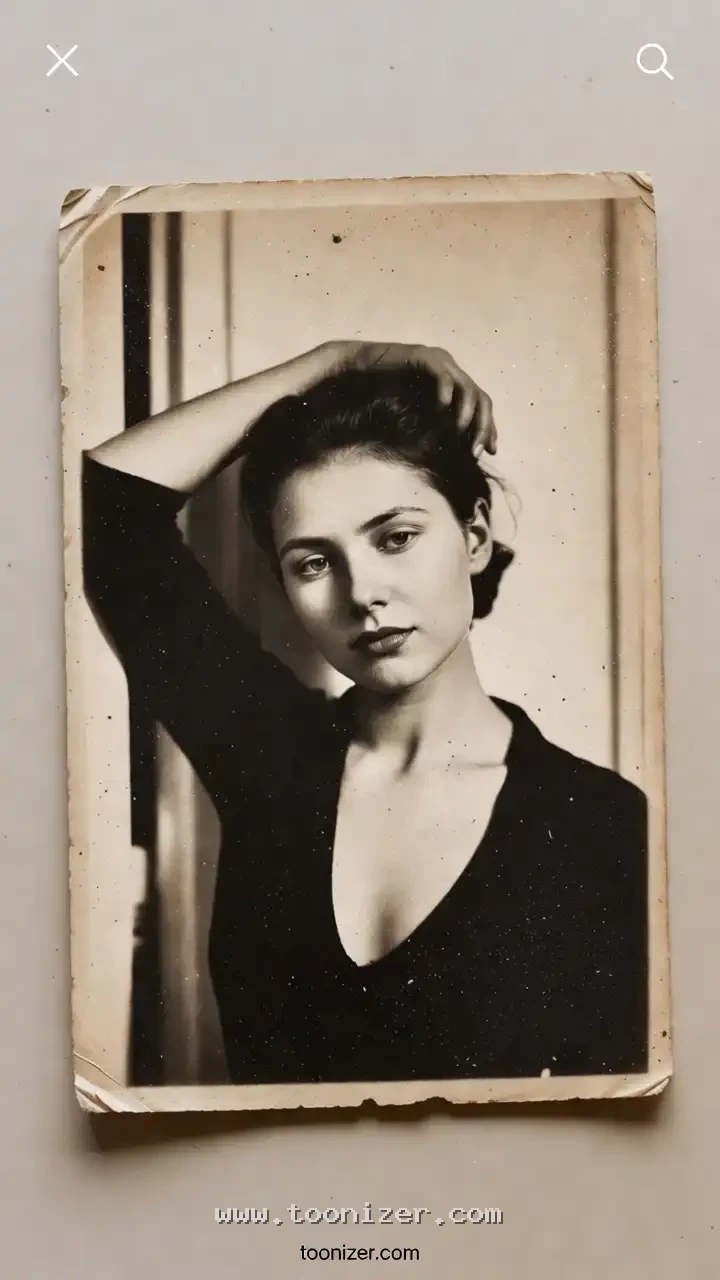
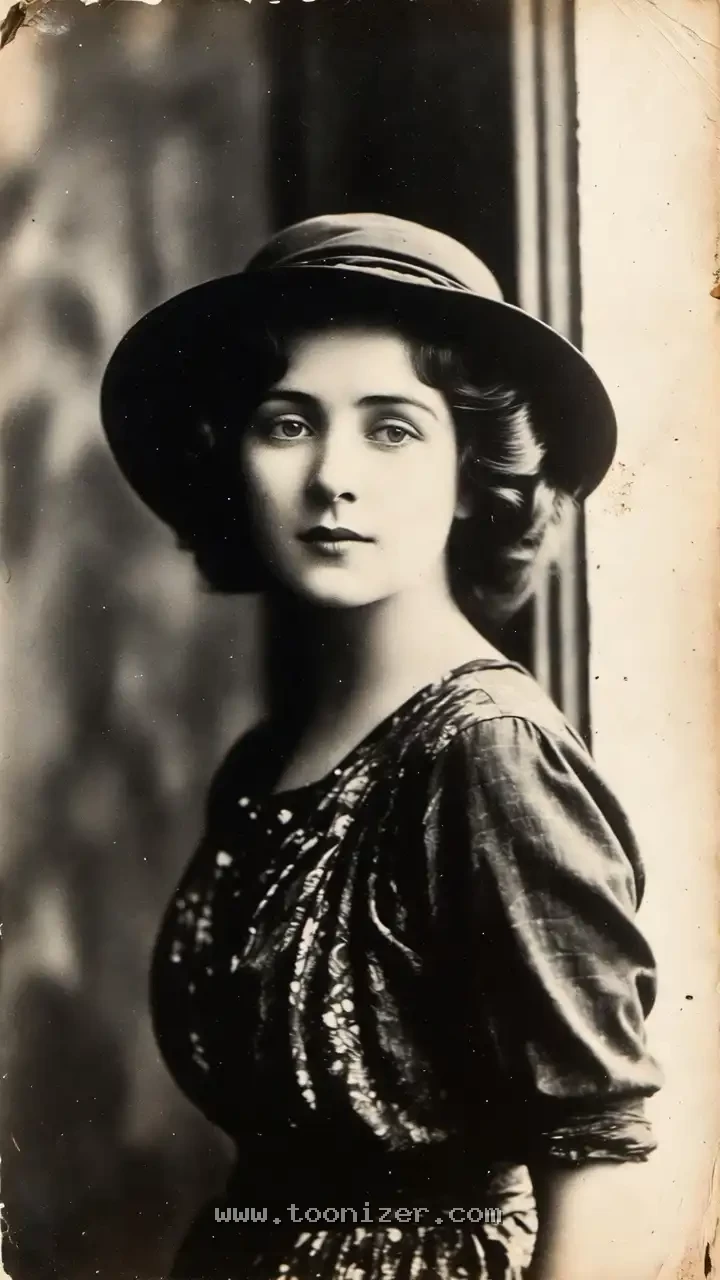
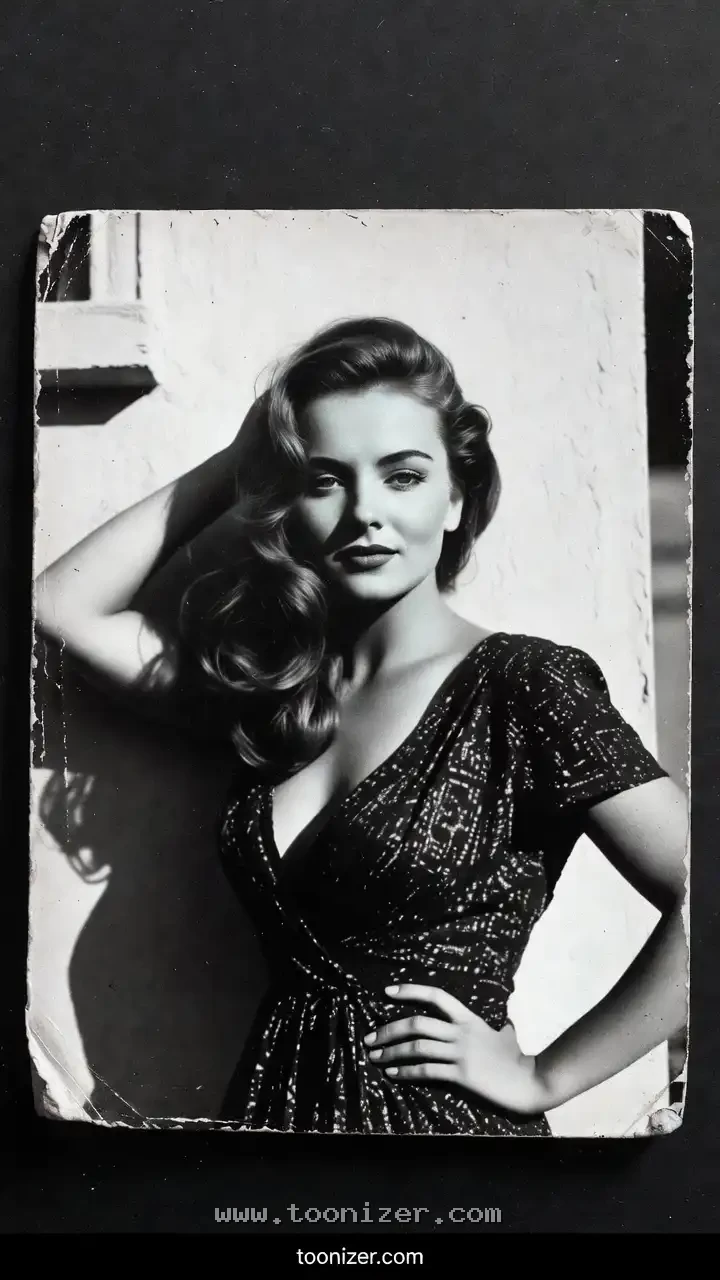
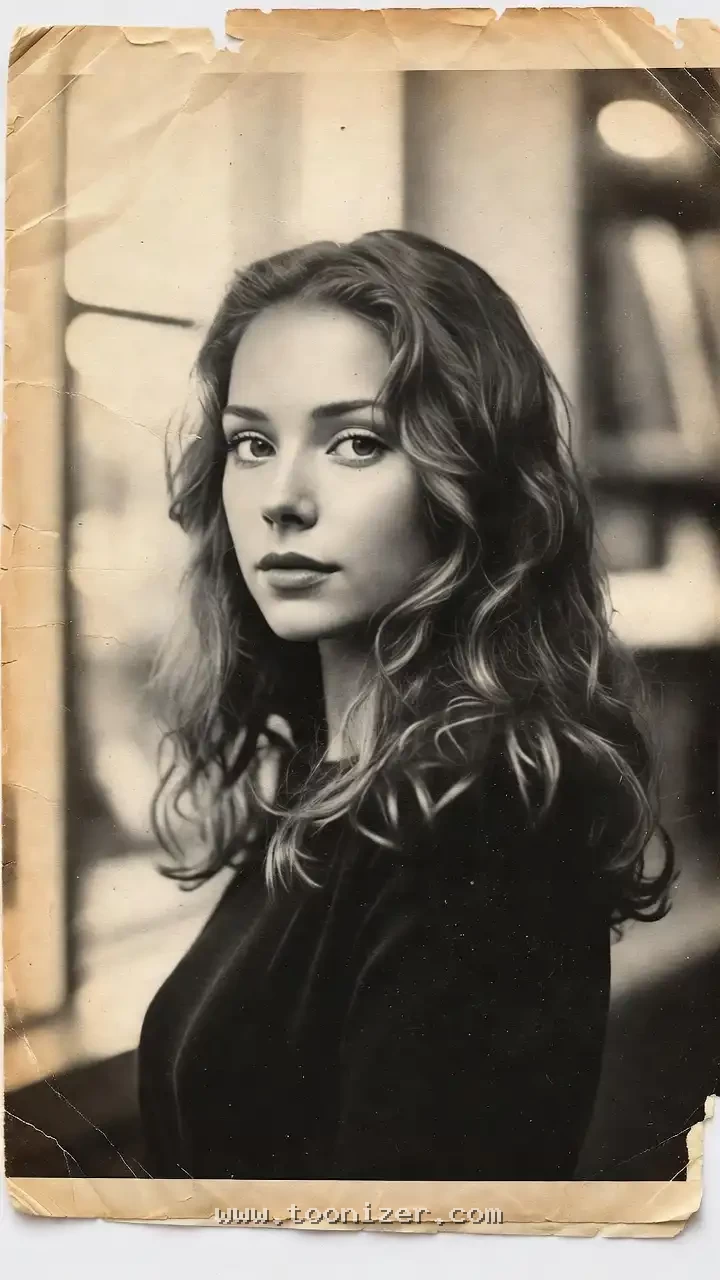
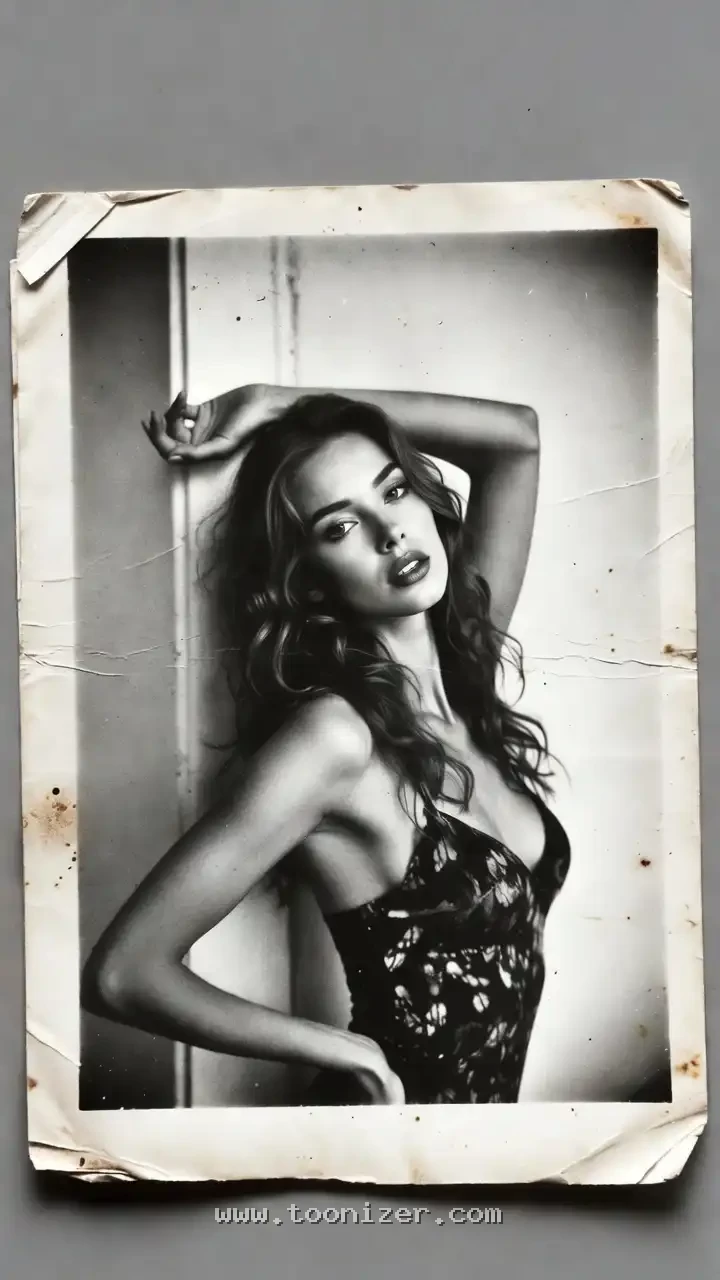
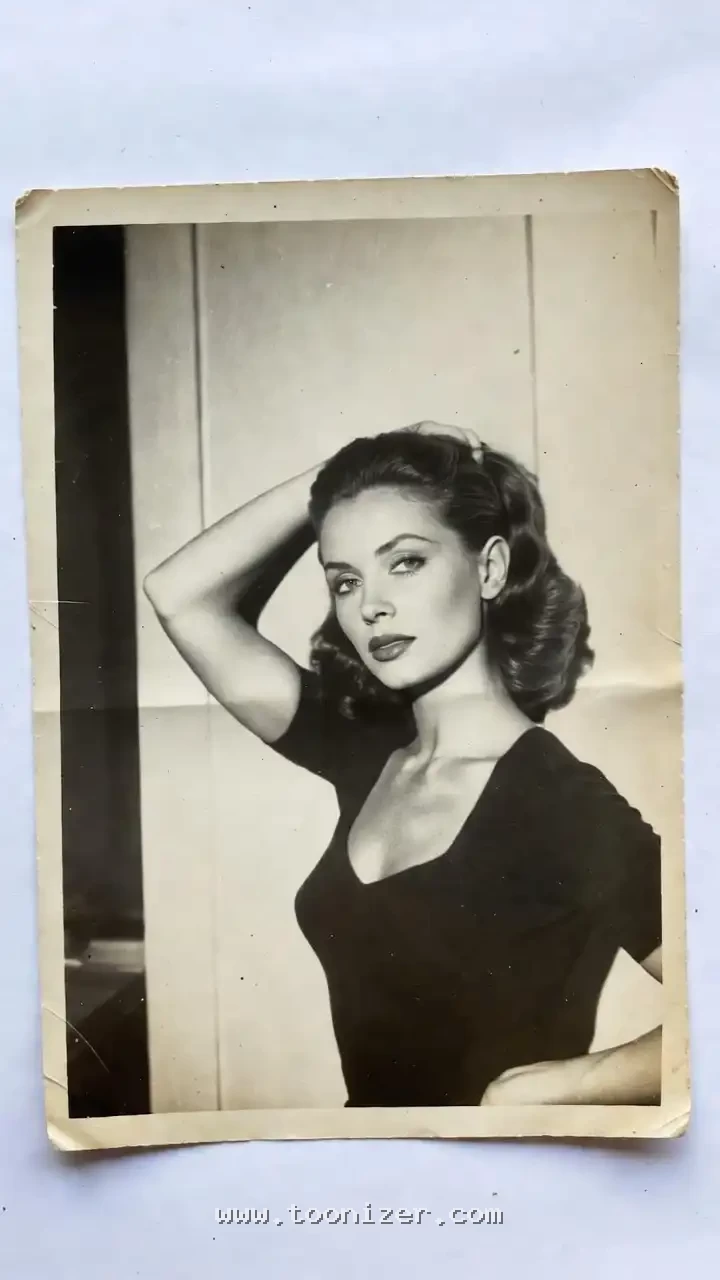
Old photos do not have to stay faded, torn or stained. With a decent scan and some patience, most damage on family prints can be repaired, and the original print can be kept safe at the same time. This guide explains how to restore old damaged photos step by step: what to do with the physical print, how to scan it, which fixes you can do yourself and when to pay a professional. The 19 damaged prints in this post show the kind of wear you are likely to meet.

A note on the images: like the other “analog” photos on Toonizer, the pictures in this post were made with AI to show the look of damaged prints. If you want to learn to tell them apart from real film, see how to spot AI vintage photos.
Step 1: Look at the damage first
Before you touch anything, sort the damage into two groups. Some problems can be handled on the print itself; most should only be fixed on a digital copy.
- Surface dirt and dust: can be removed from the print with care.
- Fading, colour shift, stains, cracks and tears: fix these on the scan, not on the original.
- Prints stuck to glass or to each other: do not pull them apart. This is a job for a conservator.
- Mould: keep the print away from other photos and wear gloves; ask a professional if it is widespread.
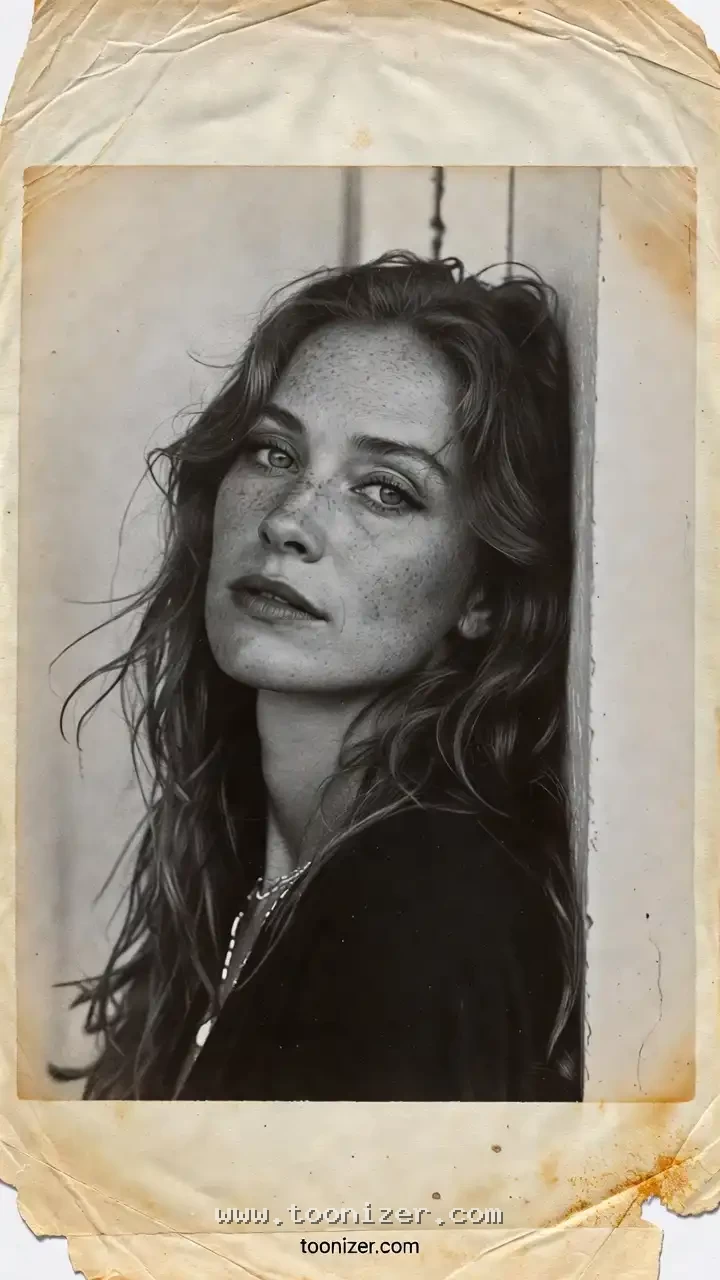
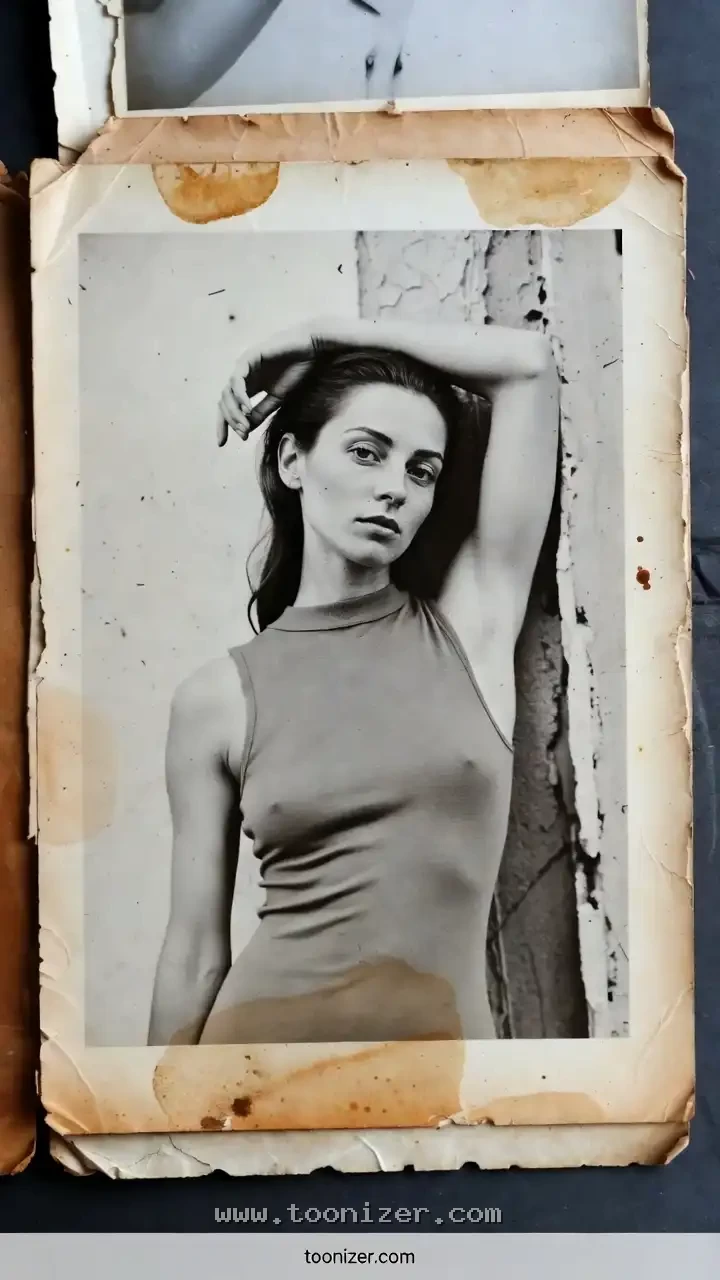
Step 2: Clean the print gently
- Handle prints by the edges, ideally with clean cotton or nitrile gloves.
- Remove loose dust with a soft brush or a blower. Do not rub.
- Never use water, glass cleaner or wet wipes on a print. The image layer can lift or smear.
- Leave tape and old glue in place if removing them would tear the print. You can retouch them out of the scan.
Step 3: Scan at the right settings
A good scan does most of the work. A flatbed scanner is better than a phone for prints, but a phone in even daylight, held flat above the photo, will do for small fixes.
- Resolution: 600 dpi for normal prints, 1200 dpi for small prints you might enlarge.
- File type: save a TIFF or high-quality PNG as your master, and make JPG copies for sharing.
- Colour: scan in colour even for black and white photos; it keeps more tone information.
- Turn off auto-correction in the scanner software, so you start from the raw image.
- Clean the scanner glass first. Dust on the glass becomes white specks on every scan.
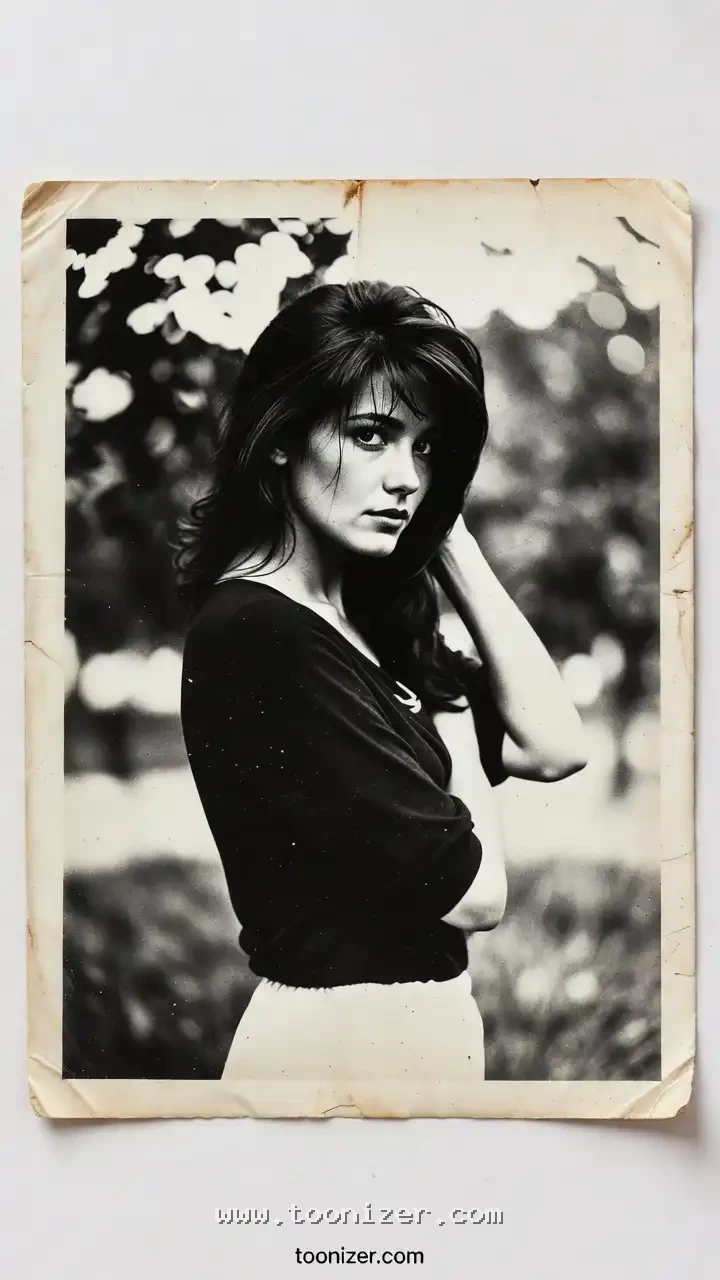
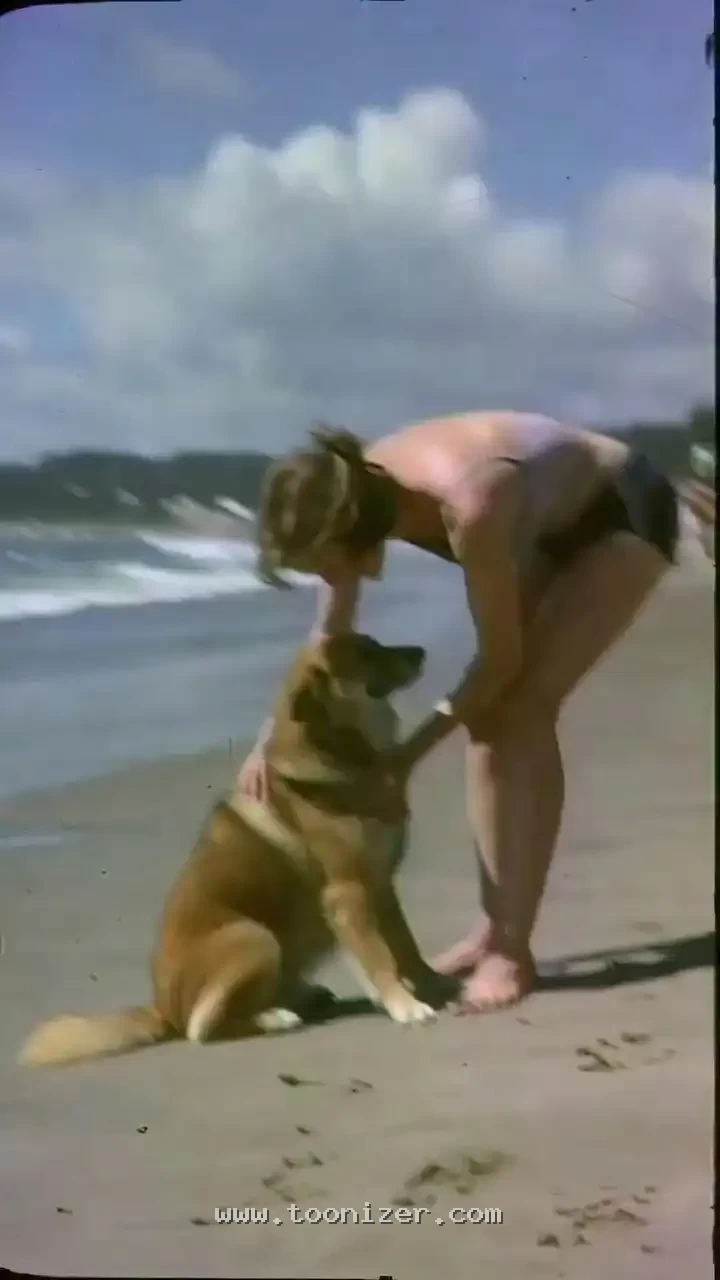

Step 4: Repair the digital copy
Always work on a copy of the scan. These are the usual fixes, roughly from easiest to hardest:
- Crop and straighten the image.
- Levels or curves to bring back contrast in a faded print.
- Colour balance to remove a red, orange or yellow cast. Pick a white or grey area and use it as a reference.
- Spot healing for dust, small scratches and specks.
- Clone stamp or patch for tears, creases and stains, sampling from nearby areas with the same texture.
- Rebuilding missing areas, such as a torn-off corner or part of a face. This takes the most skill.
Free editors such as GIMP or Photopea can do all of this. Many phone apps and AI tools also offer one-click restoration. They are fast for dust and fading, but check the result closely: automatic tools sometimes change faces or invent details that were never in the photo.
When to use a professional
- The print is stuck to glass, another print or an album page.
- There is heavy mould, or the image layer is flaking.
- Large parts of a face or figure are missing.
- The photo is the only copy of something important and you do not want to risk it.
Step 5: Store the original safely
Restoring the scan does nothing for the print itself. Keep the original flat, in an acid-free sleeve or box, away from light, heat and damp. Our guide on how to store old photos and Polaroids goes into more detail.
Frequently asked questions
Can I restore old photos for free?
Yes. A home scanner or phone and a free editor like GIMP or Photopea are enough for fading, colour casts, dust and small tears.
Should I clean old photos with water?
No. Water and household cleaners can damage the image layer. Use a soft brush for dust and fix stains on the scan instead.
Is it better to restore the print or the scan?
The scan. Digital restoration can always be undone and does not risk the original. Physical repair of the print should be left to a conservator.
Want to see what the damage types are called? Read our film damage guide, or browse our gallery of 1960s family photos.
Once your old photo is restored, turn it into a cartoon. Try it with the free Toonizer cartoon generator.
0 Comments