
Old photos rarely look the way they did when they were printed. Light finds its way into cameras, film gets scratched, colors drift and edges burn out. Some people see this as damage to be repaired; others now add it on purpose to digital photos. Either way, it helps to know what you are looking at. This guide goes through the most common kinds of film damage, what causes each one, and how it shows up in a picture.

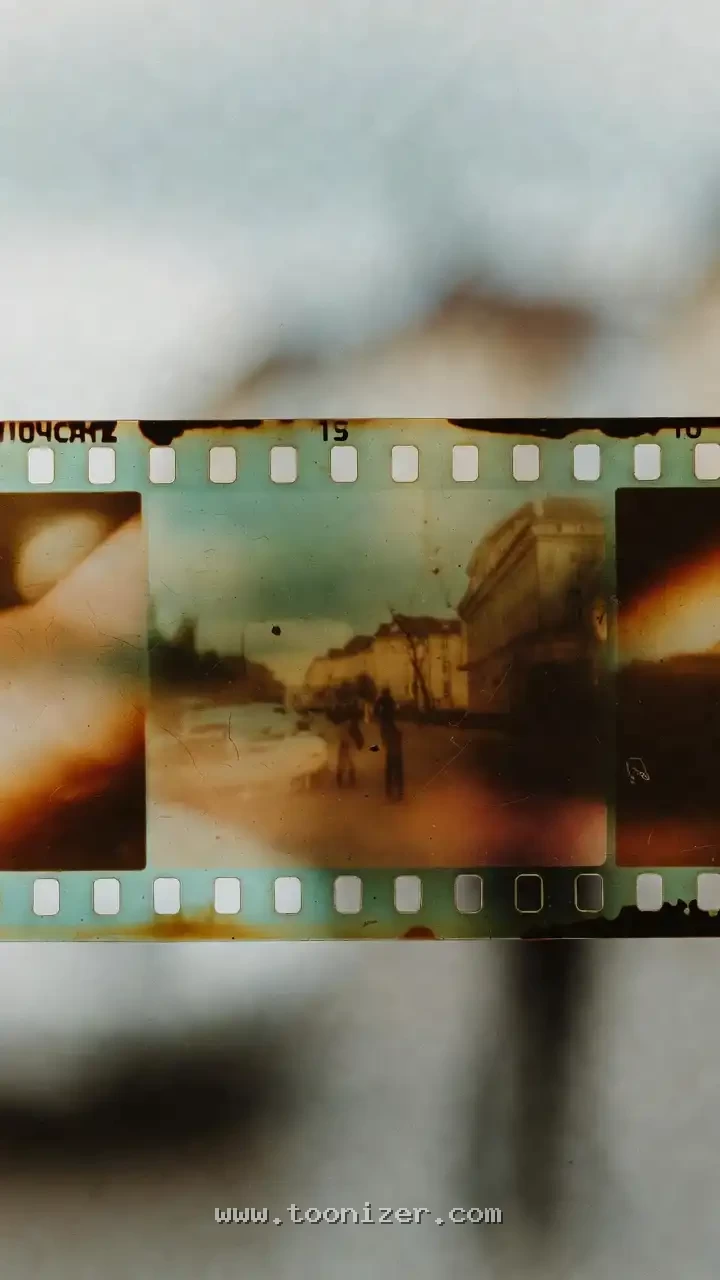
A note on the images: like the other “analog” photos on Toonizer, the pictures in this post were made with AI to show the look. If you want to learn to tell them apart from real film, see how to spot AI vintage photos.
Light Leaks
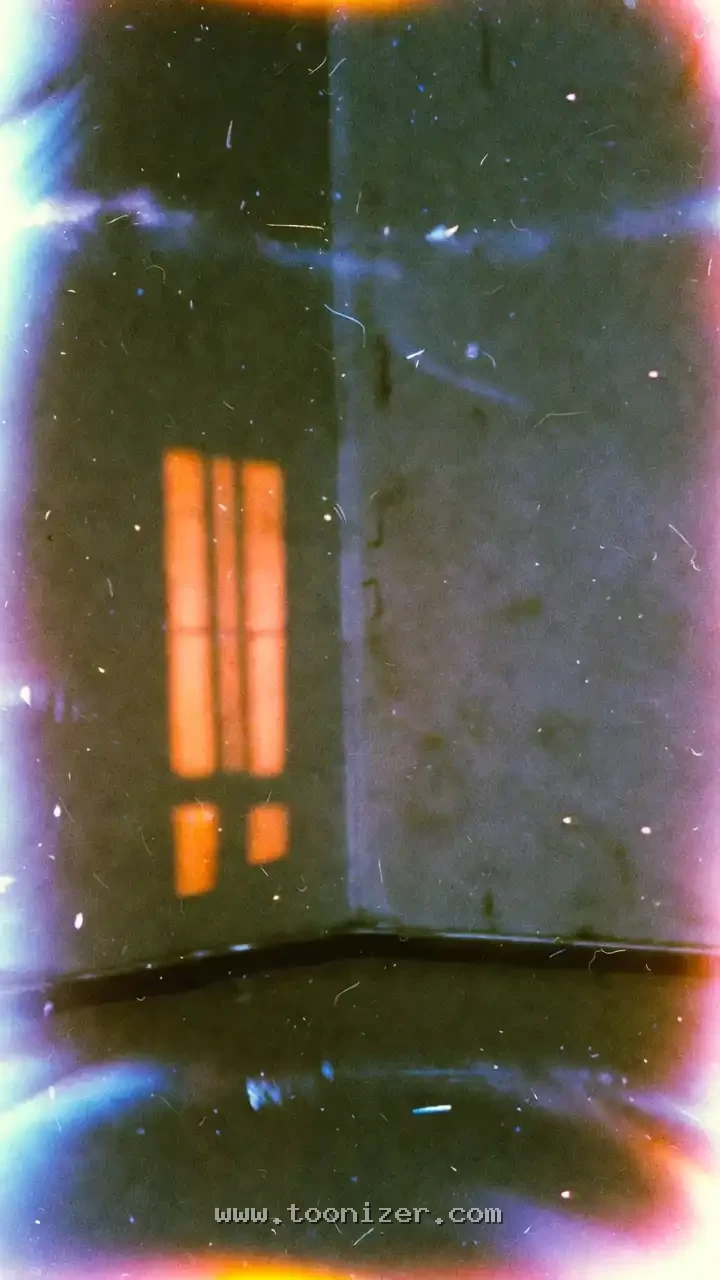
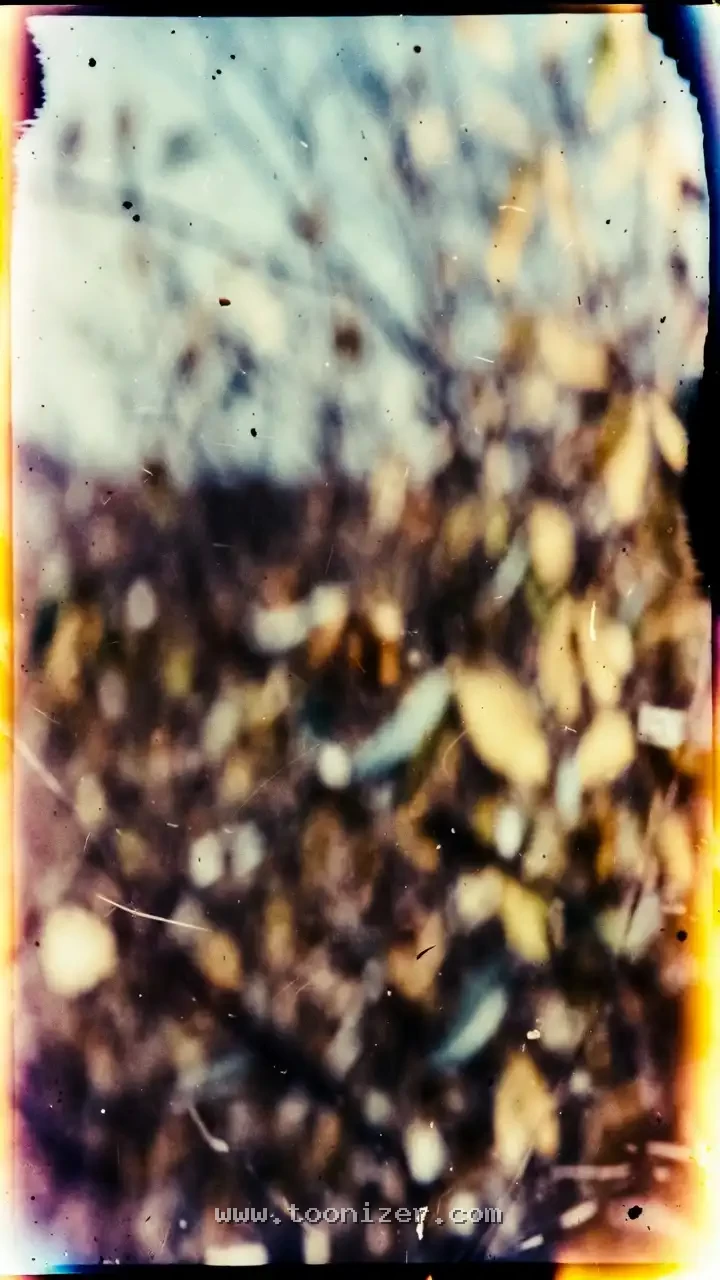
A light leak happens when light reaches the film where it should not: through worn foam seals in an old camera, a back opened too early, or a cracked body. The result is a soft wash of orange, red or yellow, usually near the edge of the frame or across the gap between two frames. Light leaks are random, which is part of their appeal. No two look the same.
Scratches and Dust
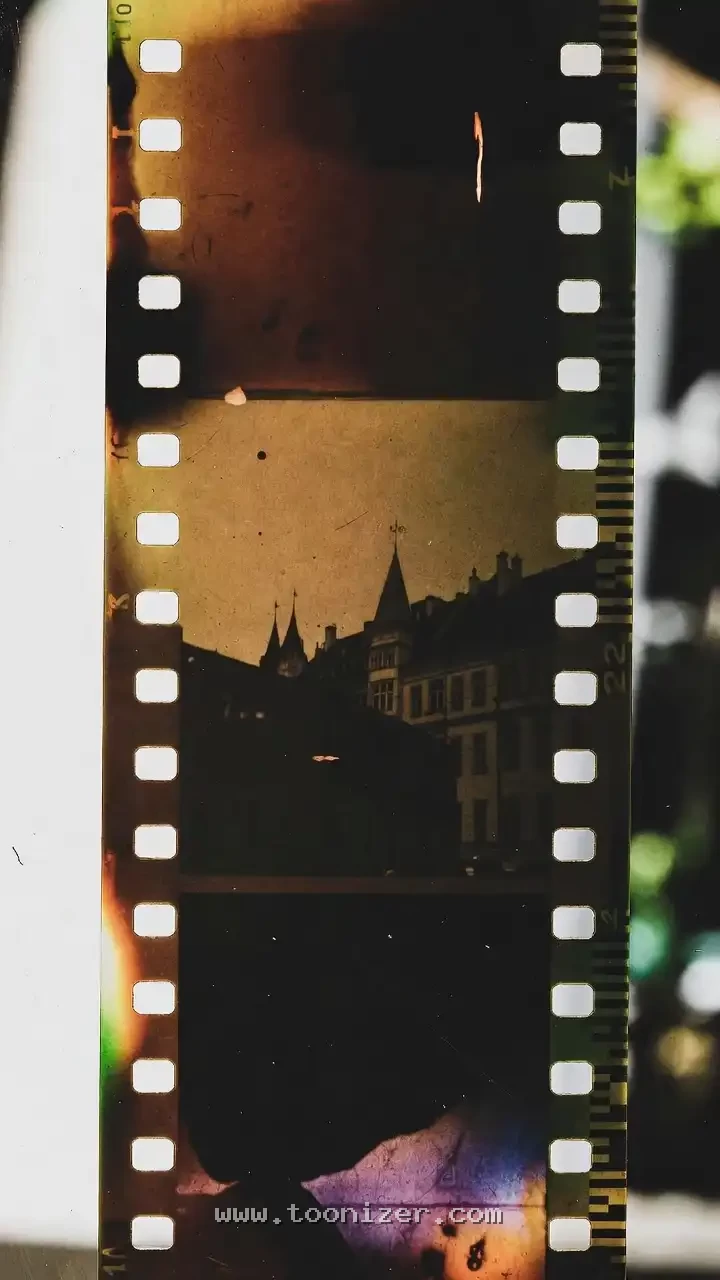
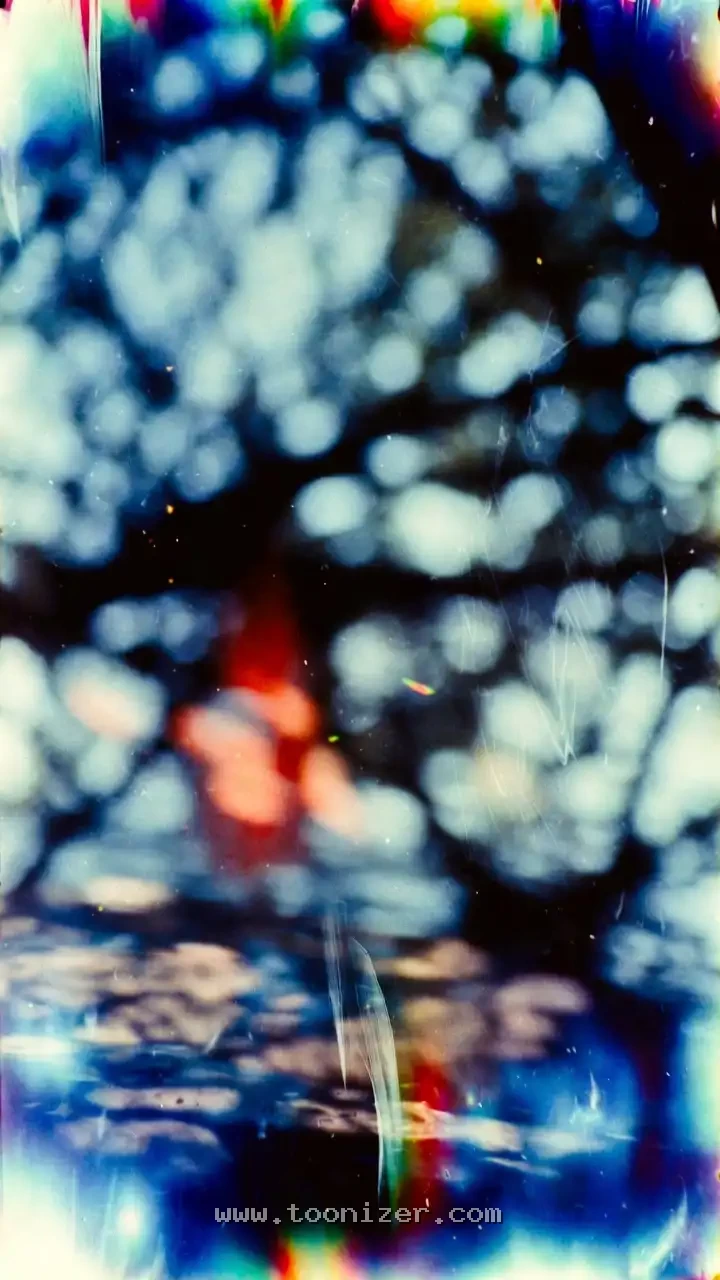
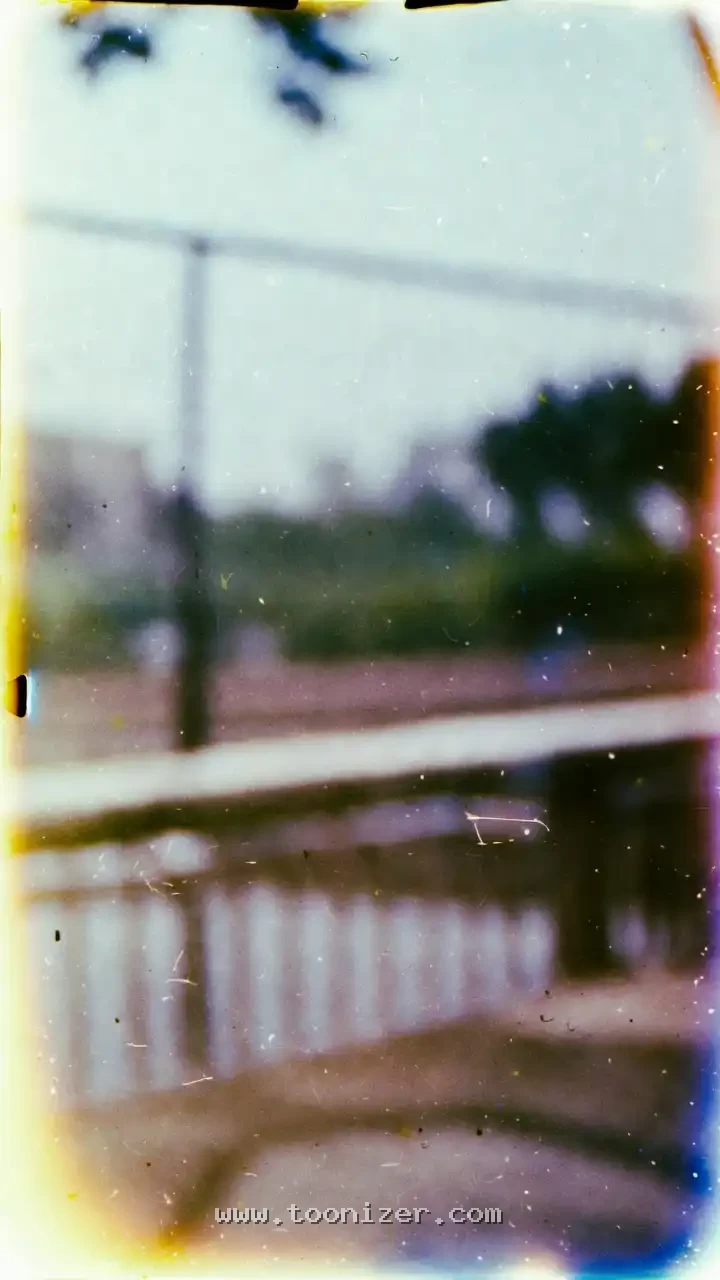
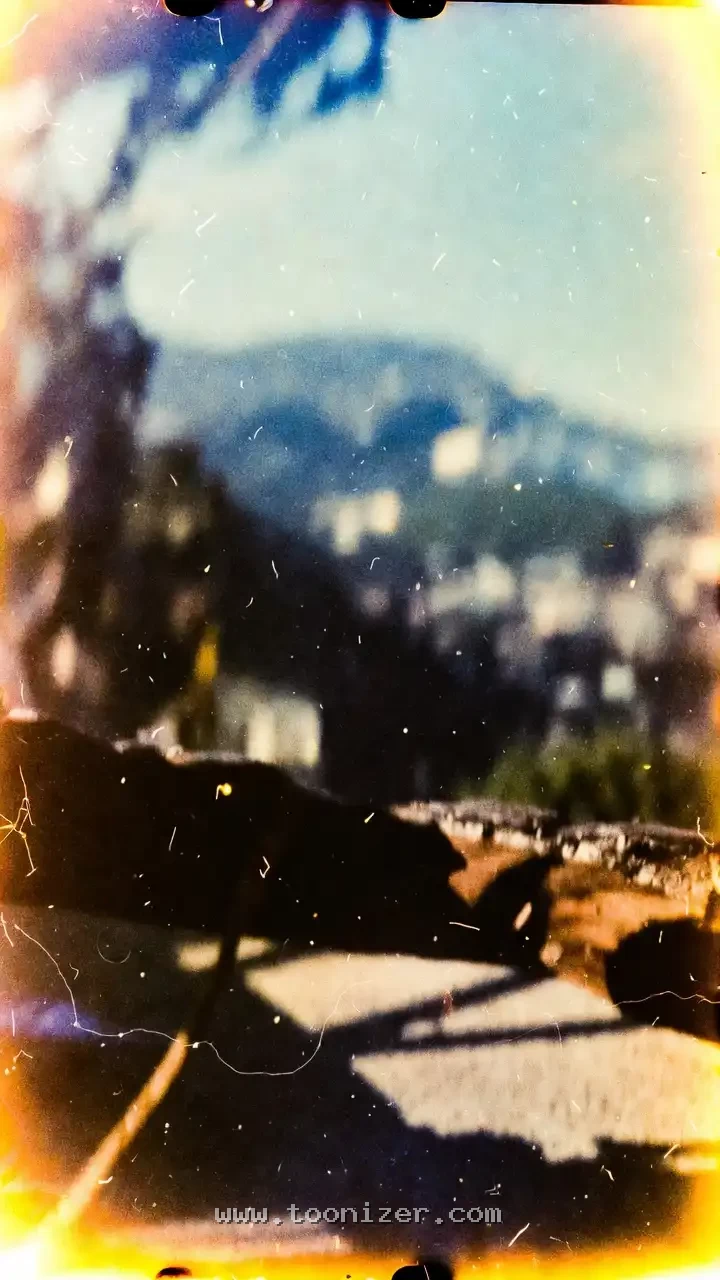
Thin white or dark lines usually come from grit inside the camera or from handling negatives without care. Dust on the film or the scanner shows up as small white specks on prints and black ones on scans of negatives. A few scratches give a photo texture; many of them make it look worn and old.
Emulsion Damage and Chemical Stains
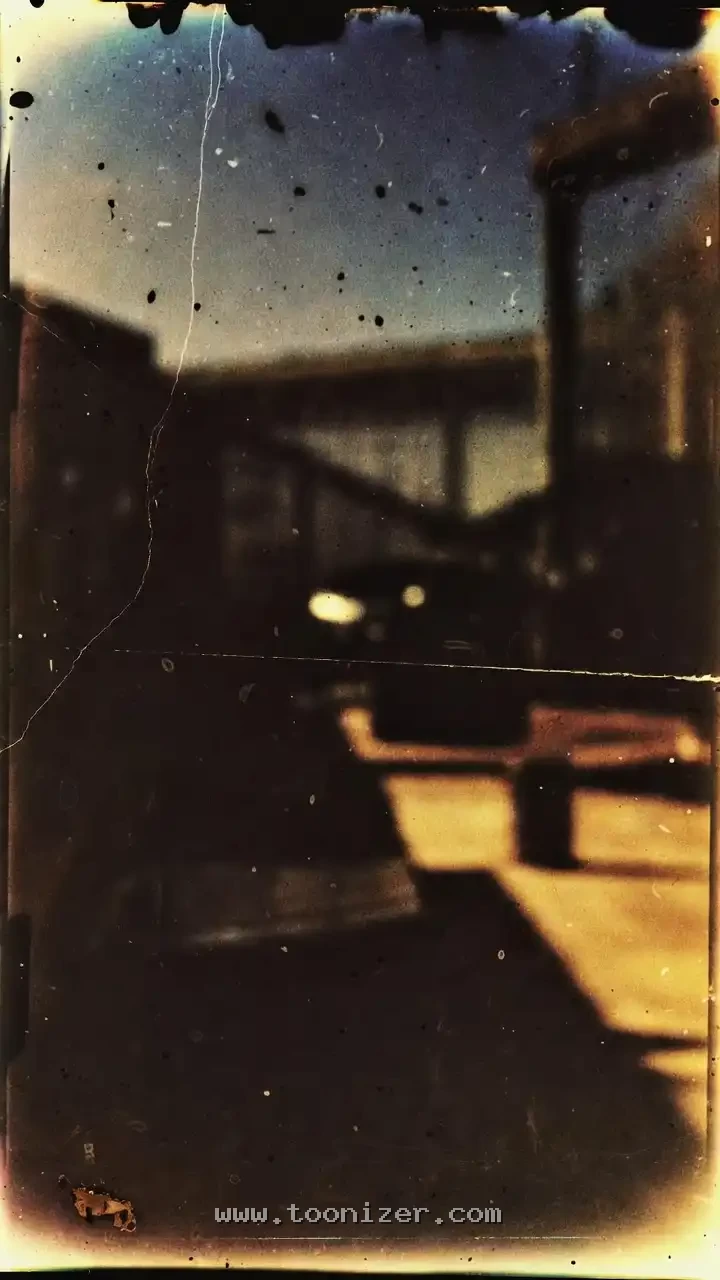
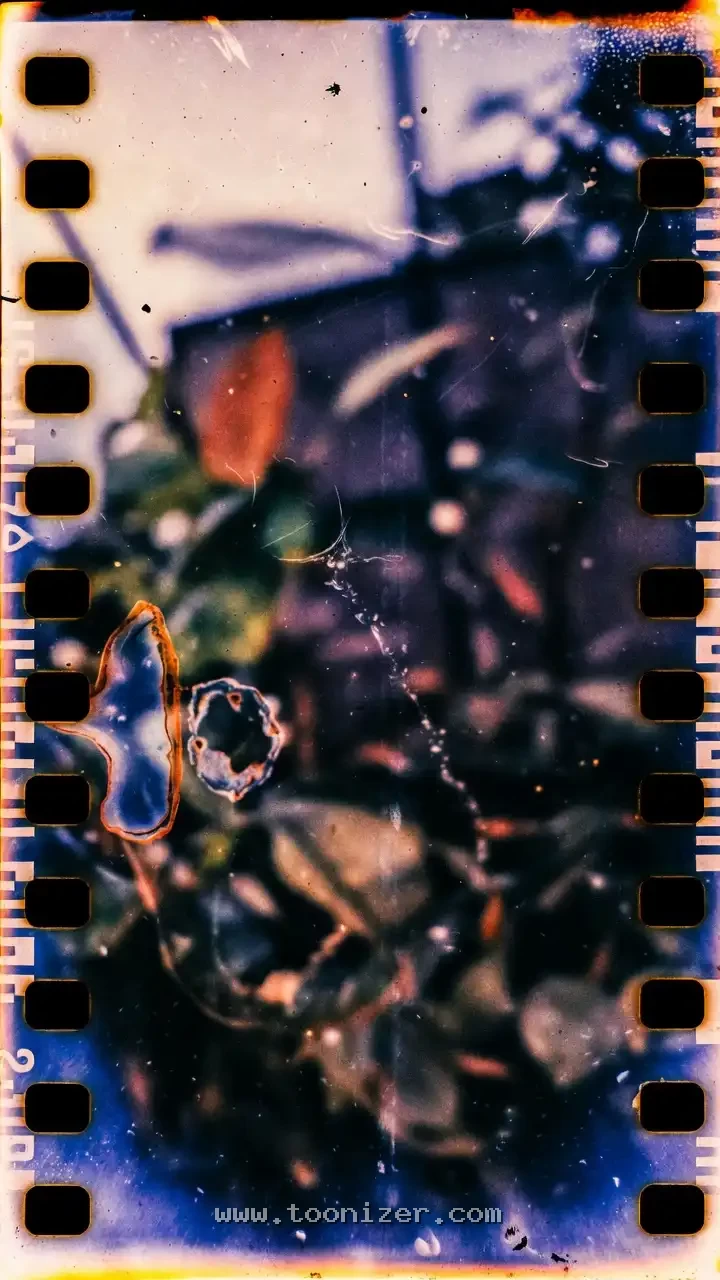
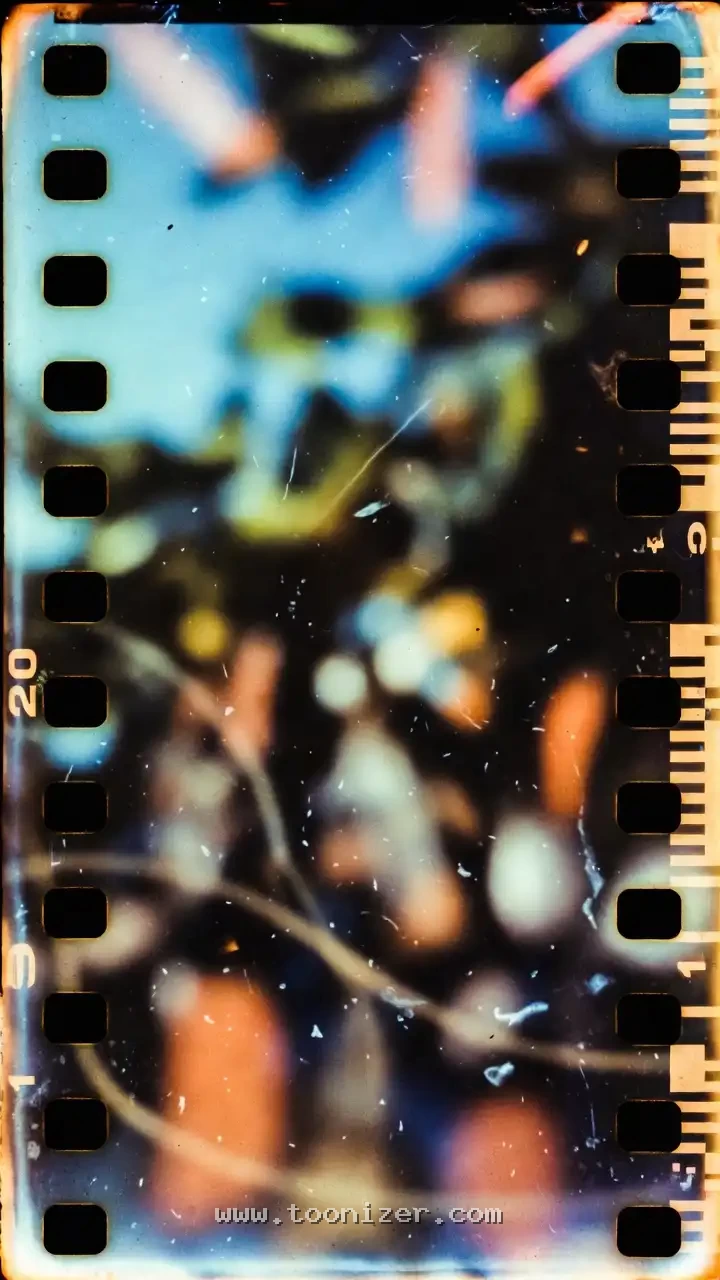
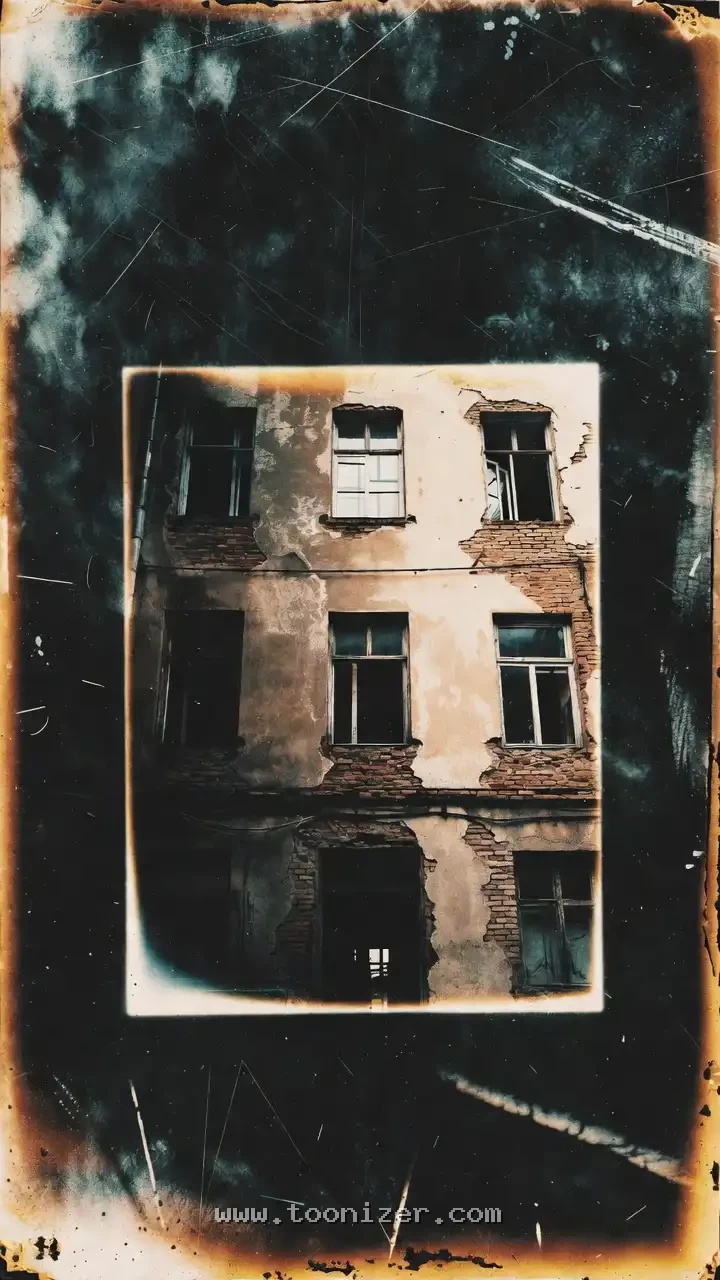
The image on film sits in a thin layer called the emulsion. Heat, damp and mould can lift, crack or eat into it, leaving blotches, holes and odd colors. Mistakes during development, such as old chemicals or uneven agitation, can leave streaks and stains as well. This is the kind of damage that is hardest to fix and most striking to look at.
Faded and Shifted Color
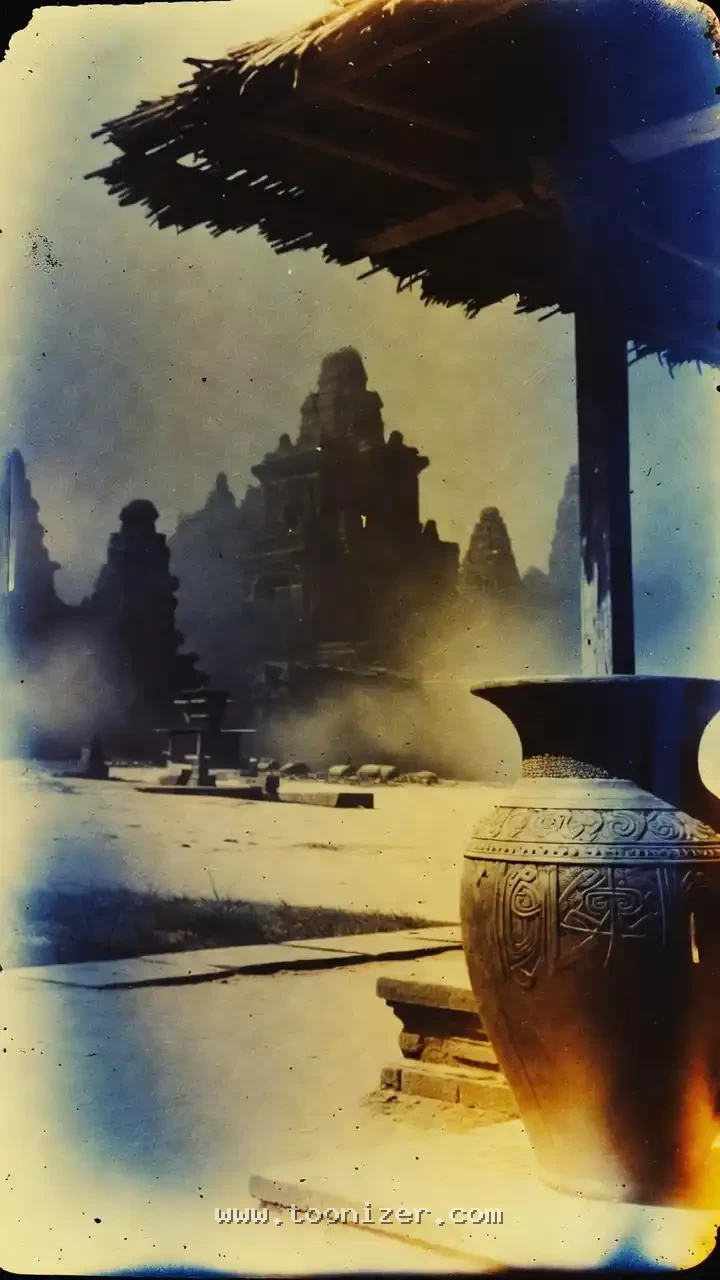
Color prints and slides fade as their dyes break down, and the dyes do not fade at the same speed. That is why many old family photos lean toward red, magenta or a washed-out yellow. Expired film and film stored in heat show similar shifts before it is even developed: lower contrast, a color cast and more grain.
Burned Edges and Fogged Frames
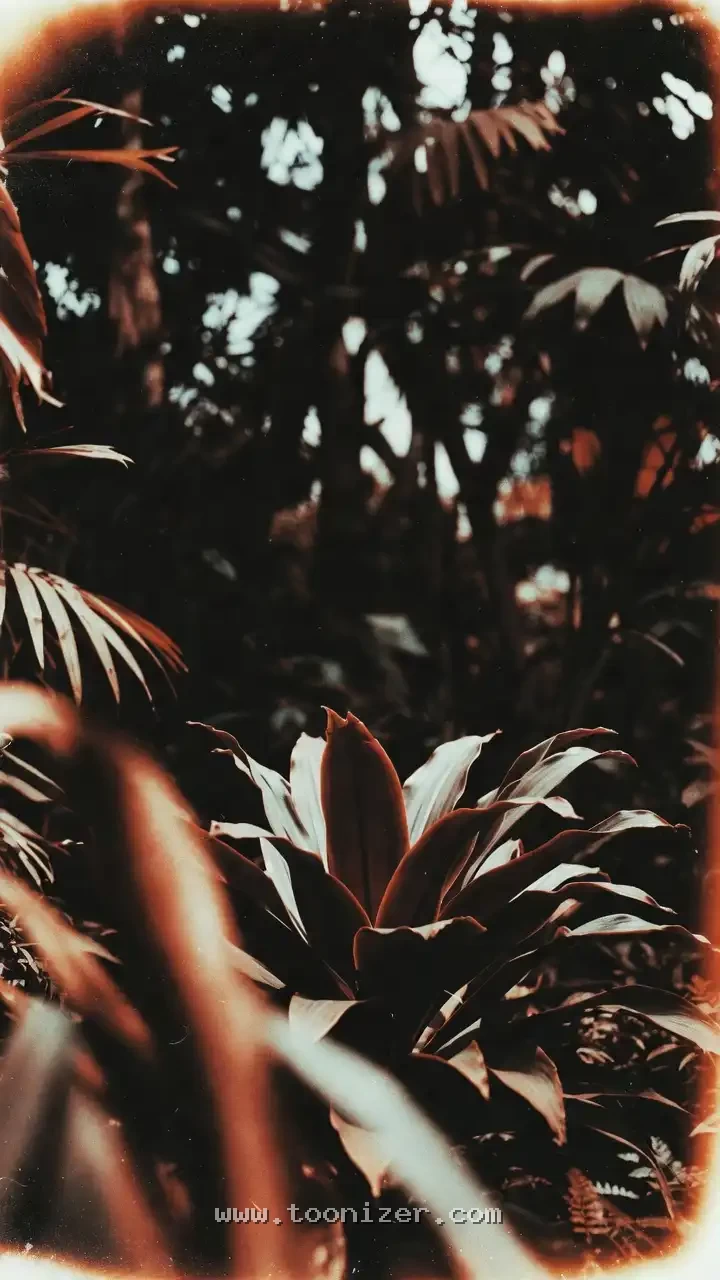
The first and last frames of a roll are often partly exposed to light while loading or unloading, so they come out bright orange or white at one side. Prints that sat in the sun or near heat can also brown and burn at the edges. Both give a photo a soft frame of color around the subject.
Double Exposures and Blur
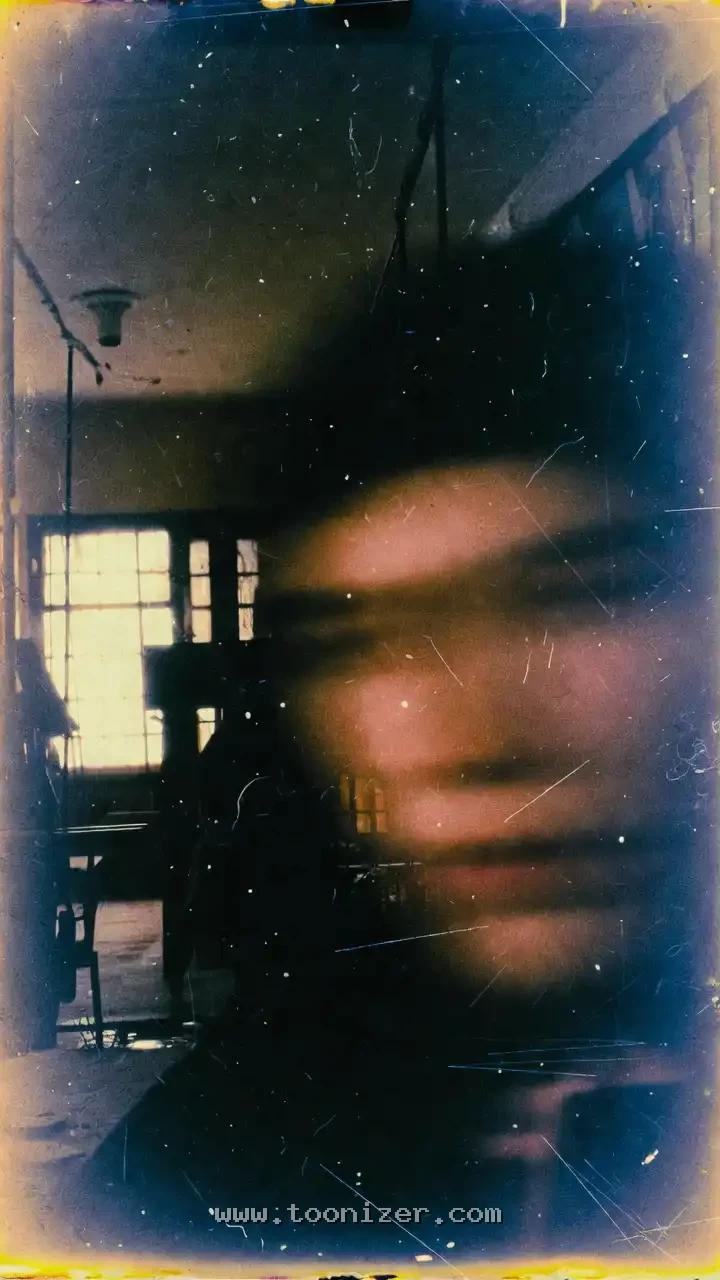
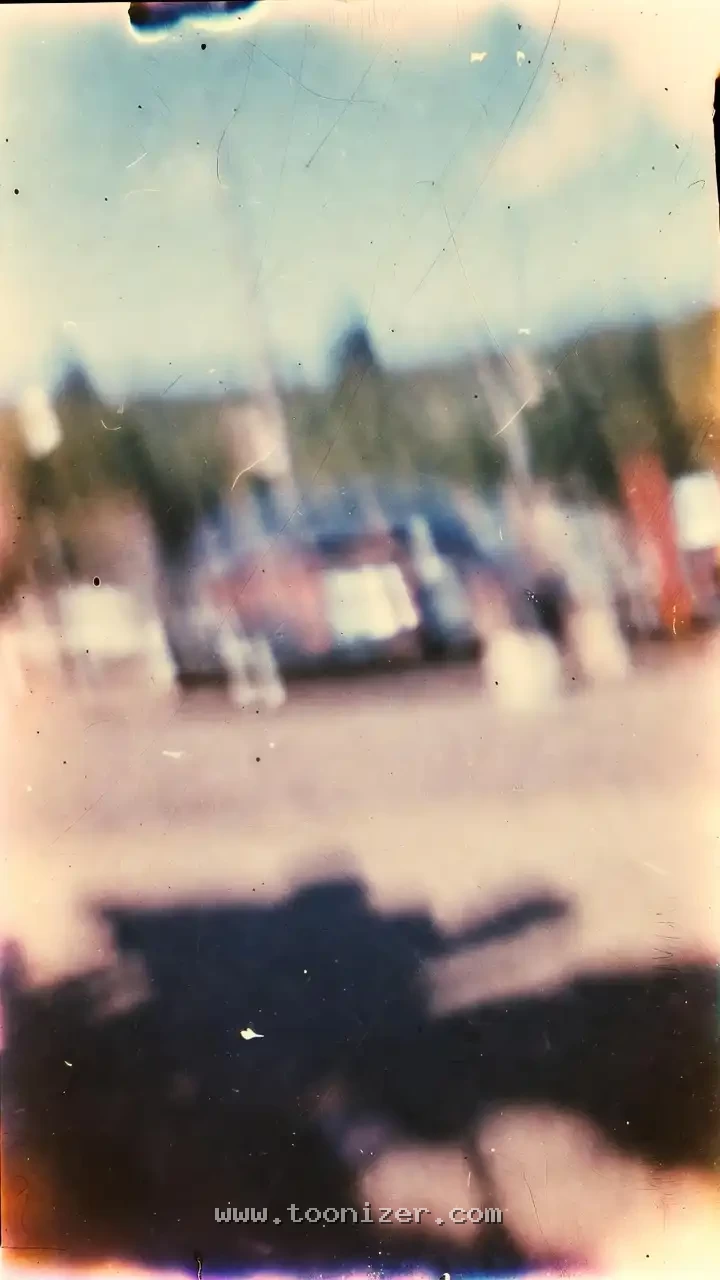
If the film is not advanced between shots, two images land on the same frame. Some cameras made this easy to do by accident. Slow shutter speeds in low light add motion blur. Both turn a simple snapshot into something closer to a memory than a record.

How to Recreate the Look
- Lower the contrast and lift the shadows slightly, so blacks turn soft and gray.
- Warm the colors or push them toward red or green, as faded prints do.
- Add fine grain before adding any overlays.
- Use real scans of light leaks, dust and scratches as overlay layers in Screen or Multiply mode, and keep them at low opacity.
- Leave the face or the main subject mostly clean, and let the damage sit around the edges.
For more on how different film stocks change color and grain, see our visual guide to film stock looks, and for a gallery of imperfect photos, damaged analog film pictures.
Turn an Old Photo Into a Cartoon
Have an old, faded photo you like? You can turn it into a cartoon portrait in a few seconds. Try it with the free Toonizer cartoon generator.
0 Comments